
From the monthly archives: February 2016
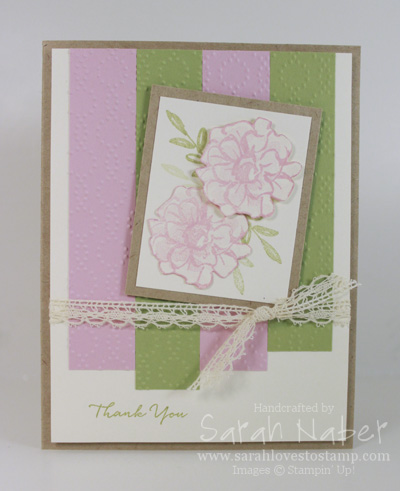
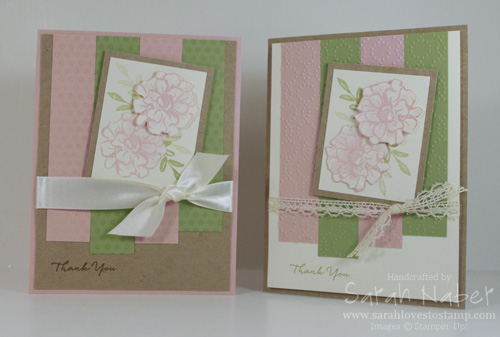
Hello! I hope you’re having a great start to your week! This was the first version of the pastel floral card I made Friday with the What I Love stamp set from Stampin’ Up! Sale-A-Bration 2016! I wasn’t sure if I loved it, so I tried again and made the card that I posted on Friday. Which version do you prefer?
The supplies are basically the same, except the lace trim and the strips are embossed instead of stamped.
CLICK HERE to check out my post about the card on the left, including the paper dimensions in the cut list. The Very Vanilla layer and Kraft layer are identical in size, as well as the card bases and the rest is the same colors and everything.
If you haven’t heard of Stampin’ Up! Sale-A-Bration, here’s a quick rundown of what that is. It’s our best promotion of the year because you get an exclusive free item with every $50 you spend! It’s also a great time to host – you get an extra $25 hostess dollars with a party of $250 or more or join – you get $155 worth of any products you choose for only $99 during Sale-A-Bration this year! Free shipping on your kit/order when you join too plus the $56 of freebies! Gotta love that!
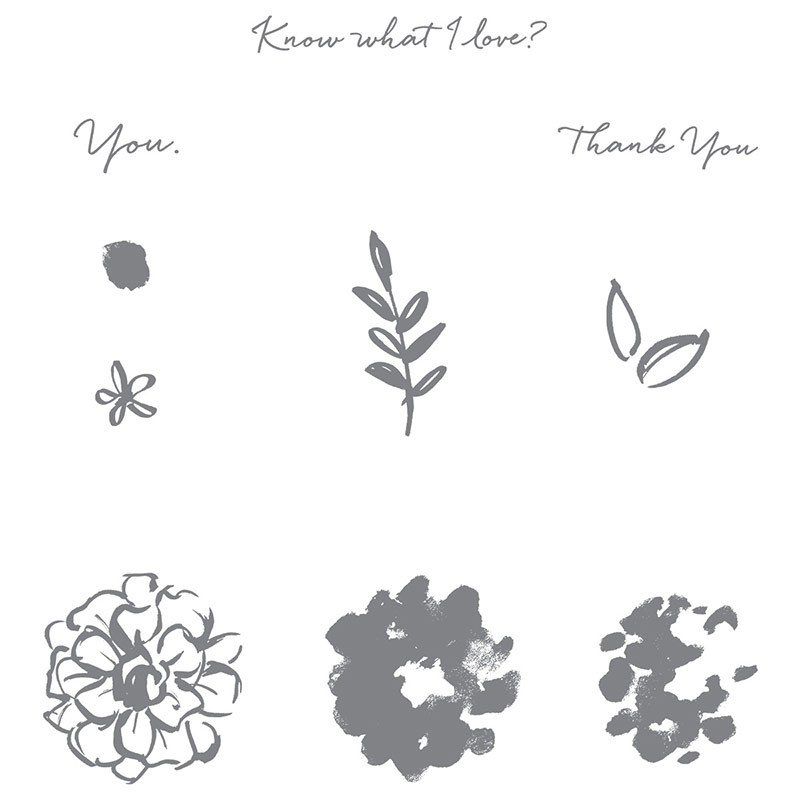
Do you like seeing the full stamp sets in my posts? I’m happy to share them if it’s something people enjoy. Here’s the What I Love stamp set. It’s only available during Sale-A-Bration 2016 and it isn’t available to buy outright. You can earn it free by spending $50 in any product first.
I’m also sharing a video today! This is a video by Stampin’ Up! all about the What I Love stamp set! It’s a short one but does show great ideas with this versatile set.
Today marks the end of February, meaning you have just one month remaining to get this year’s Sale-A-Bration items! The company has also said that stock is not guaranteed until March 31st. If you want to make sure you get the ones you love, click here to shop in my Online Store! It’s open 24/7! The What I Love stamp set featured here is just one of the great options from Sale-A-Bration 2016!!!
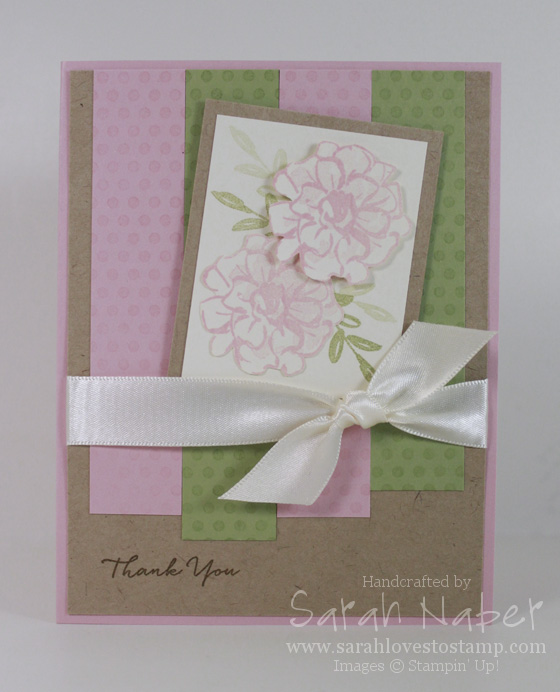
It’s no surprise that it’s pretty easy for me to make a feminine thank you card but I’m really loving the way this one came together. A “fill in the blank” challenge from As You See It (“Thank You” is my favorite sentiment to use), a color challenge from Color Throwdown, and a sketch challenge from Retro Sketches provided me with massive inspiration! I’m wild about this stamp set – What I Love – just one of the many Sale-A-Bration exclusive options this year FREE with a $50 purchase.
Today’s card uses a very basic stamping technique that never fails to delight me with it’s simplicity – 2nd generation stamping. It’s where you ink up the stamp and then stamp off onto scrap paper (I always use my grid paper since that’s what I work on) and then stamp it onto your project. The result is a lighter image and it works perfectly for two step stamp sets, although it’s a useful technique for many different things. I also love to use it when I am making a layered or collage stamped piece.
If you’re interested in seeing my first take on this card, as well as the two cards side by side, here’s a link to that post!
Cut List
Blushing Bride cardstock: 8-1/2″ x 5-1/2″, scored at 4-1/4″; 2 strips at 7/8″ x 4-1/4″
Pear Pizzazz cardstock: 7/8″ x 4-1/2″; 7/8″ x 4″
Kraft 12″x12″ cardstock: 4″ x 5-1/4″; 2-1/4″ x 2-3/4″
Very Vanilla cardstock: 2″ x 2-1/2″; scraps
How To
1. Stamp flower outline from What I Love twice onto Very Vanilla scrap in Blushing Bride ink. Stamp flower details (I used the stamp with less coverage but you could do either) lighter by stamping Blushing Bride inked stamp off onto scrap paper first.
2. Use Paper Snips to quickly fussy cut the two flowers.
3. Stamp leaf image (also from What I Love) onto Very Vanilla layer, stamping once full strength and then once without reinking to get a lighter image.
4. Adhere one flower directly to the layer and adhere one with Stampin’ Dimensionals.
5. Adhere Very Vanilla layer to Kraft mat.
6. Temporarily adhere strips onto a sheet of copy paper how they will appear on the card. Stamp the Dots for Days background on them in VersaMark ink. This will give them a seamless look.
7. Adhere strips onto larger Kraft layer.
8. Stamp “Thank You” sentiment from What I Love in Soft Suede ink onto the larger Kraft layer.
9. Tie Very Vanilla Satin Ribbon around the layer.
10. Adhere to Blushing Bride card base with Fast Fuse adhesive.
11. Adhere focal point with Stampin’ Dimensionals onto card.
I hope you enjoyed this feminine thank you card as much as I do! Check back tomorrow for an alternate take on these 3 challenges that is similar but different!
Leave a comment below and tell me what your crafty plans for the weekend are! Happy Friday!!!
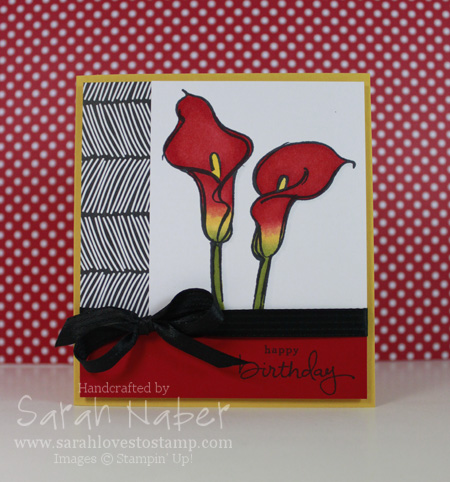
The Remarkable You stamp set is probably my favorite line art set I own! The images are a great size, wonderful to stand on their own on a simple notecard, to be the focal point of a larger card, or even for larger scrapbooking or 3D items. They’re fun to color, but also look stunning stamped in black ink on white cardstock or tone-on-tone with matching ink and cardstock too!
I used a bold color palette on this birthday card for my good friend, Sara (I hope she loved it as much as I did!). The mixed font greeting is from the awesome set, Endless Birthday Wishes. I LOVE that it’s a photopolymer set so it makes mixing and matching the sentiments especially easy. I would say it’s my 2nd most used set right behind Teeny Tiny Wishes!
The image was one I colored for the 30 day coloring challenge (I’m behind by a couple of days right now). I colored it with Copic markers. I’ve had them for a long time, but rarely used them as I started only using Stampin’ Up! products for several years now. You may or may not know, but Stampin’ Up! introduced our own alcohol-based markers a few years ago and I remembered how much I love coloring with this particular medium. The SU! ones had some issues from the manufacturer and were discontinued, but my love for alcohol-based marker coloring was rekindled! So I pulled them out, googled an image of a calla lily, and took inspiration from there to blend the green, yellow and red. I ended up really pleased with it.
Here’s a link to another card I did with a sketch that’s been a long time
favorite, as well as colored with alcohol-based markers!
I’m always saying that cardmaking is a process. This card was no different. I’d stumbled upon a sketch I loved when I was researching ideas with the Tap Tap Tap stamp set and wanted to try it with this image. The sketch I was inspired by had the main portion (focal image and vertical and horizontal strip) going from edge to edge on the card. I thought my image was plenty large enough and just started cutting. Before I knew it, it was too narrow to span to the edge and have the vertical strip be the 1″ that I planned. I tried it on a regular A2 card but just didn’t love it with the skinny border on two sides and larger at the top and bottom. So I ended up with a very unique sized card. 4-1/4″ x 4-3/4″ was the finished measurement. I may retry making it another day and cutting the focal image piece 1/4″ larger (width) to see how it would compare to this one!
Anyway, I think the rest of the card is pretty simple, so I’ll just get on to the Cut List and Supplies!
If you haven’t already, join my mailing list by entering your info into the box to the right. I send out an exclusive project PDF filled with ideas once a month to my subscribers!
Cut List
Crushed Curry Cardstock: 8-1/2″ x 4-3/4″, scored at 4-1/4″
Whisper White Cardstock: 4″ x 4-1/2″ (base I glued other pieces to)
White Copic-friendly Cardstock: 3″ x 3-1/2″
Everyday Chic Designer Series Paper: 1″ x 3-1/2″
Real Red Cardstock: 1″ x 4″
Built for Free Using: My Stampin Blog
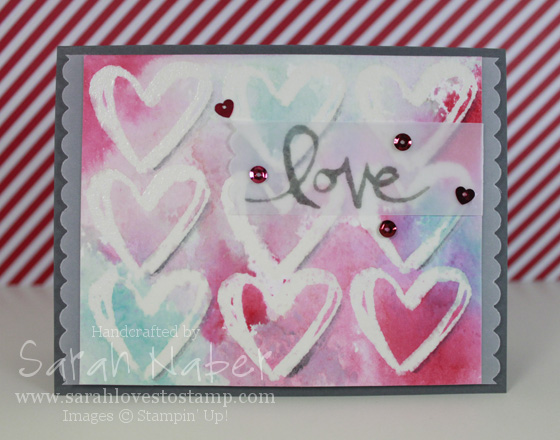
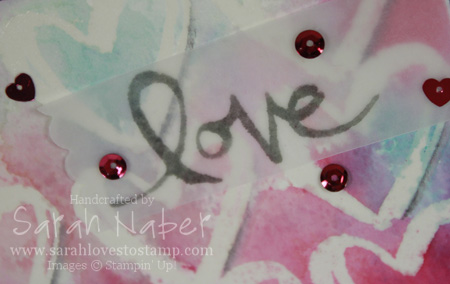
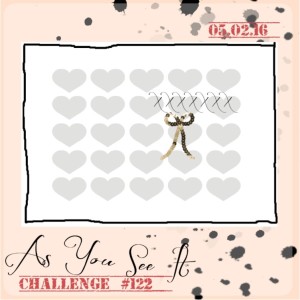
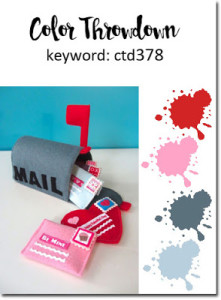
Hello! Today I have a new challenge coming at you from As You See It Challenges! LOVED this sketch. I obviously took it VERY literally but of course, you can do any repeated image! I also used a technique called watercolor smooshing. It is so easy and beautiful! Click to go check out the challenge over at the As You See It Challenge blog! I hope you can join us this week. The colors I used are from the Color Throwdown challenge. I actually used their colors in last week’s card but was too late to enter it by the time I got the blog post written!
If you read my last blog post, you’ll know that I’m participating in the The Daily Marker’s 30 Day Coloring Challenge. This card was a 2 day process. After it dried the first day, I ended up adding more color and decided to tie in the Basic Grey by adding it with an Aquapainter on one side of the heart for a shadow. *TIP: Our new Archival Ink pads in Basic Black and Basic Grey are not made for watercoloring and will dye the ends of your brush. They also don’t move as well as our regular inks as they aren’t water-based.
Here’s the sketch and color challenge I used this week!
Cut List
Basic Gray Cardstock: 8-1/2″ x 5-1/2″, scored at 4-1/4″
Watercolor Paper: I recommend using a larger piece and cutting it down after everything was dry. It ended up being 4-3/4″ x 3-15/16″ but I didn’t even measure it to get that. I just cut where I liked how the edges looked with the pattern.
Cardstock Vellum: 1-1/8″ x 3″ (to edge of scallop, the original piece was larger) Scallops were cut using the Squares Collection Framelits Dies.
Built for Free Using: My Stampin Blog
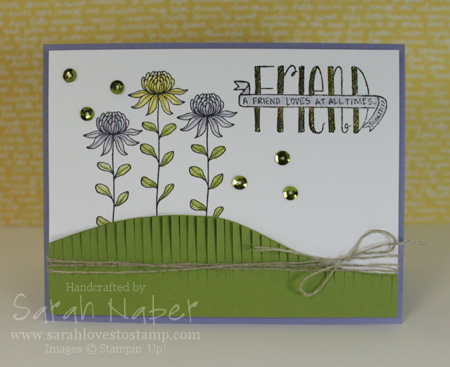
I love to color! I’ve always loved to color. So stamps are a wonderful way for me to color and be creative without having to draw the actual images myself. (NOTE: Please don’t ask me to draw…stick people are even pretty rough for me!) The best thing about the stamps in this set? It’s one of the Sale-A-Bration choices this year, which means when you spend $50, you can choose this stamp set for FREE! 🙂 Gotta love that!
I made this card last night on Periscope as I wanted to get started with the 30 Day Coloring Challenge from Kathy over at The Daily Marker. The idea is to color for just 5 minutes per day, every day for a month! Right up my alley! Have you checked out Periscope yet? It’s live videos and my favorite component is the fact that the people watching the video can comment and I can see it immediately. The people watching last night actually helped me with several decisions on this card! Such fun! If you’re interested in tuning in to one of my “scopes,” as they’re called, my username is @slovestostamp (same as Twitter). Finally, if you’re interested in seeing what I color each day, feel free to look for me on Instagram at @sarahlovestostamp. I’ll also be posting with the hashtag #TheDailyMarker30Day. Can you tell I’m excited about coloring daily? Oh yay!
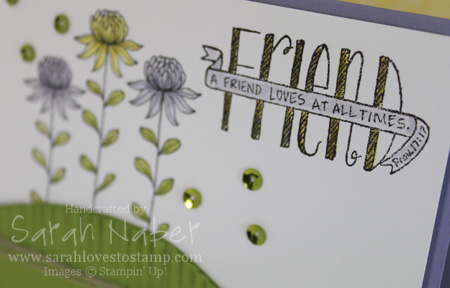
Fun detail: The “Friend” letters are actually the new Gold Wink of Stella! It is so so beautiful in real life! I use the Clear Wink of Stella more (usually) but this card made me need to break out the gold more often!
Cut List
Wisteria Wonder Cardstock: 8-1/2″ x 5-1/2″, scored at 4-1/4″
Whisper White Cardstock: 4″ x 5-1/4″
Old Olive Cardstock: two pieces hand-cut into the same curve – I started with a piece of 5-1/4″ x 3″ and was able to get both “hills” out of it. I fringed the top piece and glued the other behind it.
Built for Free Using: My Stampin Blog
