
From the monthly archives: April 2014
This post is probably the most picture-heavy post you’ve ever seen on my blog! 🙂 I’ve gone to Convention for the past six years and admired the display boards stamped by talented stampers from all over North America. This year, I’m throwing my hat in the ring to be a display stamper. We were asked to gather up three cards, two 3D items, and one scrapbook page to show examples of our work. First my cards:
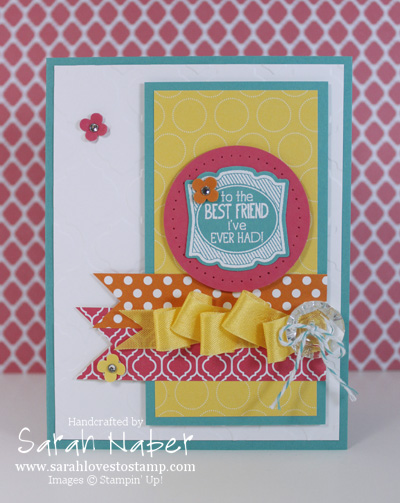
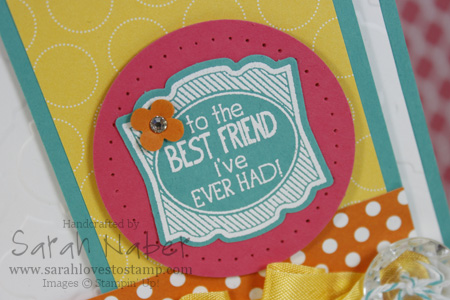
Label Love – I’ve included extra pictures to show some of the details on this card.
The first closeup shows a bit of the ruffled ribbon detail, as well as the dry embossing done with the Big Shot and Modern Mosaic Textured Impressions Embossing Folder.

The second closeup shows the main image embossed with White Stampin’ Emboss Powder onto Bermuda Bay Cardstock, as well as the paper piercing on the circle, done with the Essentials Paper Piercing Pack.
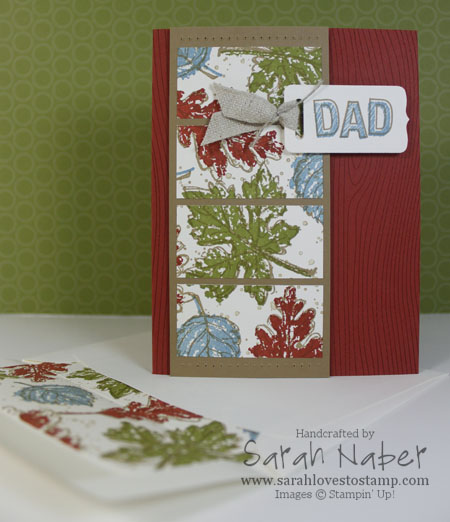
Gently Falling, Sketch & Outline Alphabets – This card uses some of my favorite things! A great two-step stamping set, the Chalk Talk Framelits, paper piercing, and a background stamp! Check out my original post about this card to see the video I filmed on making your own custom die cuts (in this case I wanted to shorten) as well as how to use the Envelope Liner Framelits Dies (how I made the matching envelope liner in the first picture).
The second picture is the decorated inside of the card. I kept the design of the inside super simple since I like to write a lot! 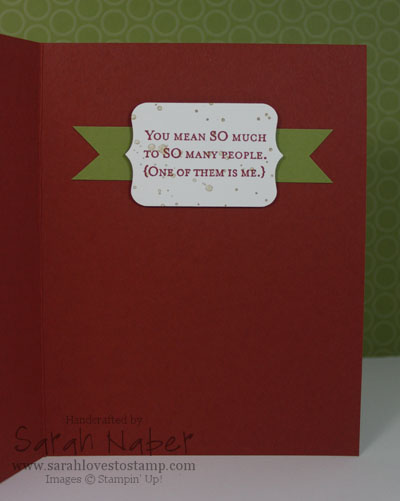
So Very Grateful – I used Gold Stampin’ Emboss Powder to make the stamped images really pop! I also used it to turn one of our 1/8″ Silver Mini Brads into gold! The main image is stamped onto watercolor paper and was colored using the Aqua Painter and our Classic Stampin’ Pads.
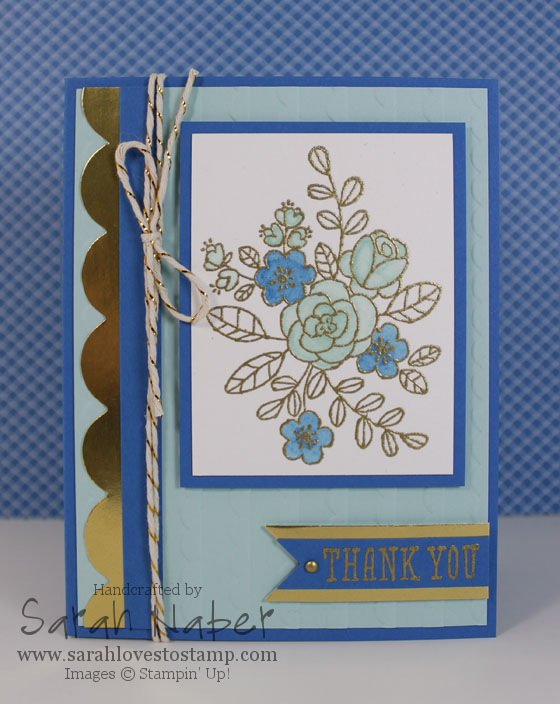
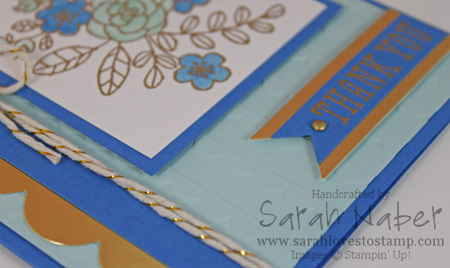
This picture shows a closeup of the dry embossing, again with the Big Shot, but this time using the Scalloped Textured Impressions Embossing Folder. You can also see the Gold Foil Paper under the sentiment and as the scalloped accent. I love that stuff but boy is it hard to photograph! 🙂 You can also see the silver brad turned gold here too!
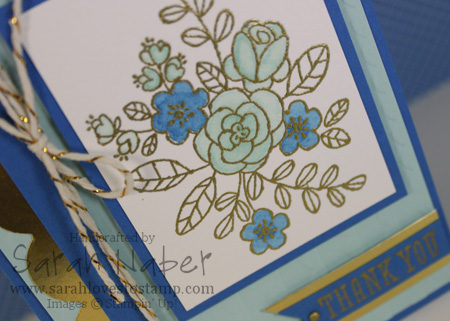
Just a closeup of the gold embossed and watercolored image! I love this stamp set!!!
Ok…on to my 3D items!
Candy Dispenser Box – I was able to make this by adapting a basic template I found online (no measurements so it was a tad tricky) to fit this entire box on a sheet of 8-1/2″ x 11″ cardstock! I love this combination of colors, taken from the Fresh Prints Designer Series Paper Stack!

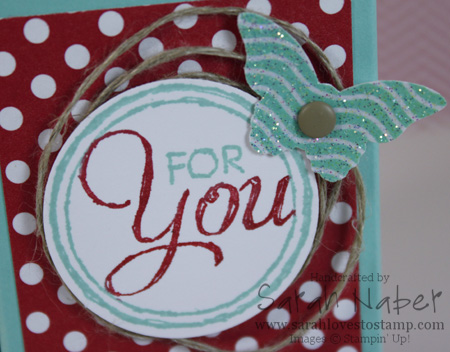
The front of the box is decorated with a sentiment from the Chalk Talk stamp set. I also added a Bitty Butterfly punched out of designer series paper I first heat embossed with Iridescent Ice Embossing Powder to give it a great, glittery shine! The butterfly is topped off with a Crumb Cake Candy Dot…LOVE those! Loops of Linen Thread add to the whimsy!
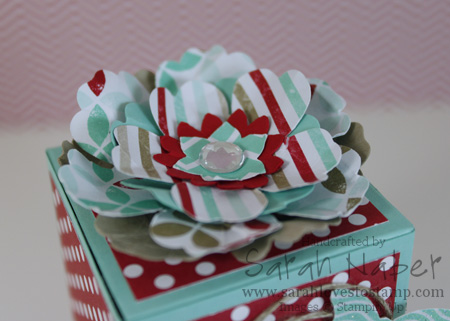
The flower atop the candy dispenser is made with oodles of punches. I punched two from each punch, the bottom layer from cardstock and the top from the Fresh Prints Designer Series Paper Stack. The punches I used, from largest to smallest are: Blossom Punch, Pansy Punch, and Boho Blossoms Punch. A Large Rhinestone Jewel added a bit of flair to the center after I crumpled the papers up to give them a bit more life.
Dream Banner – The second of my 3Ds is one of my favorite projects I’ve ever made! It is 10 times more beautiful in real life!!! I used the Pennants Framelits Dies to cut out both the black and vanilla Modern Medley Designer Series Paper (largest pennant die), and the Gold Foil Designer Vellum (2nd largest). The pennant toppers were cut from the largest Deco Labels Collection Framelits Dies.
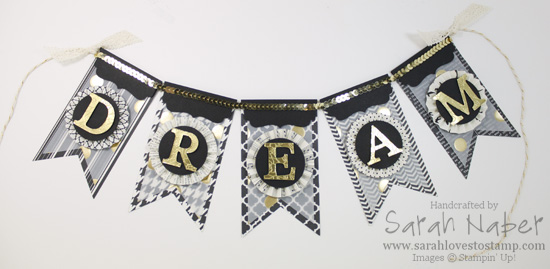
You can get a bit more detail in this picture. The letters are Gold Foil Paper with the So Very Grateful largest floral image (the one I used on the blue/gold card above) heat embossed on it with Gold Stampin’ Emboss Powder. It is so striking in real life! The rosettes were made by scoring every 1/4″ on the Simply Scored Scoring Tool. I strung them together with the Gold Baker’s Twine, used Sticky Strip to attach the Gold Sequin Trim and tied a knot of Victoria Crochet Trim at either end. Voila! 
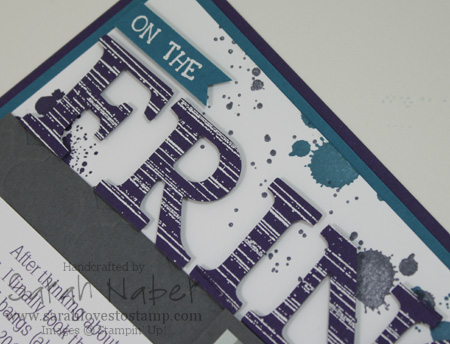
Gorgeous Grunge Scrapbook Page – On to the final entry! The splatters are all from my favorite stamp set of all time, Gorgeous Grunge. The letters are also heat embossed with White Stampin’ Emboss Powder – the large ones again using a stamp from Gorgeous Grunge. The large gray portion in the background is embossed with the Modern Mosaic folder, but it is super hard to tell in my photos!
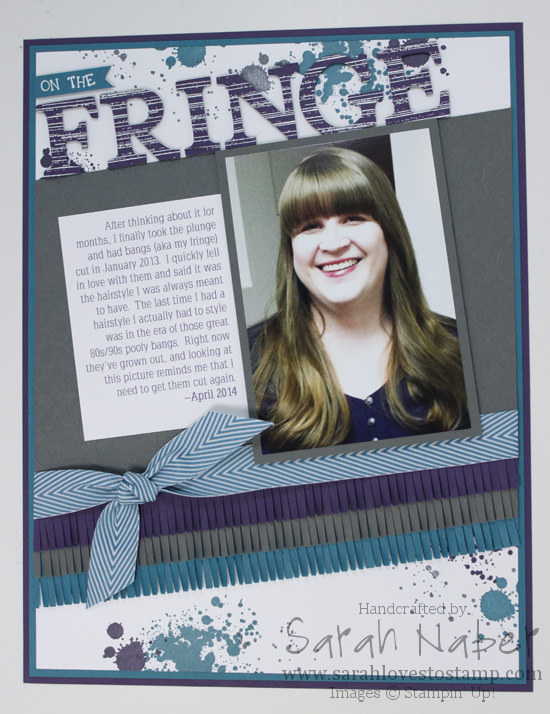
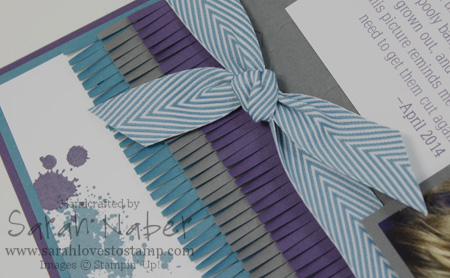
This picture shows the fun fringe I created with the Fringe Scissors. I thought it was the perfect touch on a page all about my much loved bangs! 🙂
Here’s a closeup of the letters embossed with White Stampin’ Emboss Powder.
I hope you enjoyed looking at my projects! I sure had a great time pulling together some favorites and making some new projects to enter into the selection for Convention 2014 Display Stampers. Thanks for sticking with me through this long post!
The Retiring Lists are finally here!!!
Both the STAMPS and ACCESSORIES on the lists are while supplies last only so get them now before they sell out! Stampin’ Up! made this especially easy by offering FREE shipping on Monday, April 21st – Friday, April 25th.
FREE SHIPPING is on ANY Stampin’ Up! products: current, retiring, online-exclusive, clearance, etc. so feel free to combine any or all of these types of things in my Online Store when you’re shopping.
I’m also offering a free gift for everyone who places an order using the Hostess Code HMTUFKZS. (Do not use the Hostess Code if you are placing an order of $150 or more as you get your own hostess benefits.)
The Retiring 2012-2014 In Color Products (Midnight Muse, Raspberry Ripple, Primrose Petals, Gumball Green, Summer Starfruit) will sell out the fastest so remember to stock up on your cardstock, ink refill, ribbon, etc. if you’re loving a specific color, sooner rather than later!
Again, remember that the products will only be available while supplies last (this is the first time SU! has done this so I just want to make sure everyone knows).
If you would rather have the Retiring Lists as PDF documents, here they are to download too:
Contest Winner
The winner of the Retiring Stamp Contest and $30 SU! Shopping Spree is
Melissa Ferguson!
Congrats Melissa! Contact me for details on redeeming your shopping spree! 🙂
As always, don’t hesitate to email me at Sarah@SarahLovesToStamp.com or call/text me at 816.341.0208 if you have any questions or need anything whatsoever!
***This is my second post for the day! Be sure to scroll down so you don’t miss out on my project for today!***
The Retiring Lists come out on Monday…SO, before then…
A CONTEST complete with a PRIZE!!!
Go through the Stampin’ Up! Annual Catalog (HERE it is online if you don’t have a hard copy. Or click HERE to download it.) and pick out 10 stamp sets you think will retire. Email that list to me by Sunday, April 20th at 6 pmCentral Time.
The winner will receive $30 in FREE product of their choice! If there’s a tie, the first person who sent their list to me will be the winner.
I will announce the winner on Monday in the email I will send out to share the retiring lists with you.
To Be Eligible:
-You must be a current customer (have placed an order with me in the past 12 months).
-Email your list to me at Sarah@SarahLovesToStamp.com (please use ‘Contest’ in the subject line).
-List must include only 10 stamp sets from the 2013-2014 Annual Catalog (do not include Occasions Catalog stamps or online only stamps)
-Late entries will not be accepted.
Finally, if the Retiring Stamps are revealed early, only the entries that were received before the release will count. (I’m not expecting this but it’s only fair to those who got their entries in before the list was announced.)
Hi there!
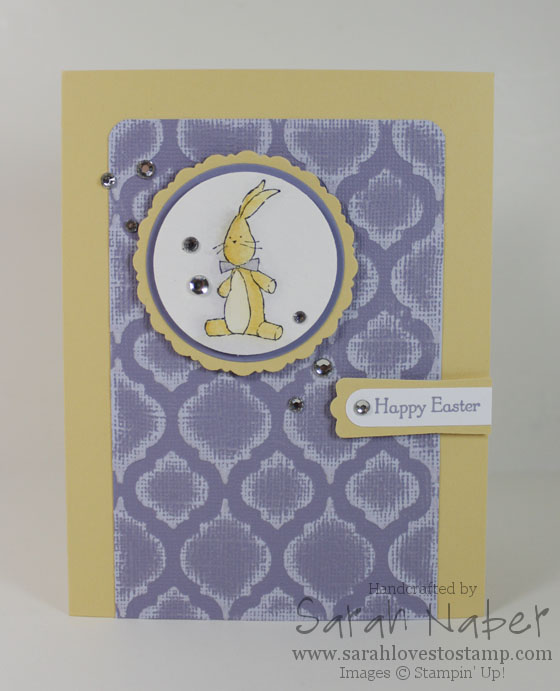
Combining my Design Team project from the As You See It Challenge today with a sketch from Freshly Made Sketches and the color combo from Dynamic Duos (last week’s) has resulted in the card you see above.
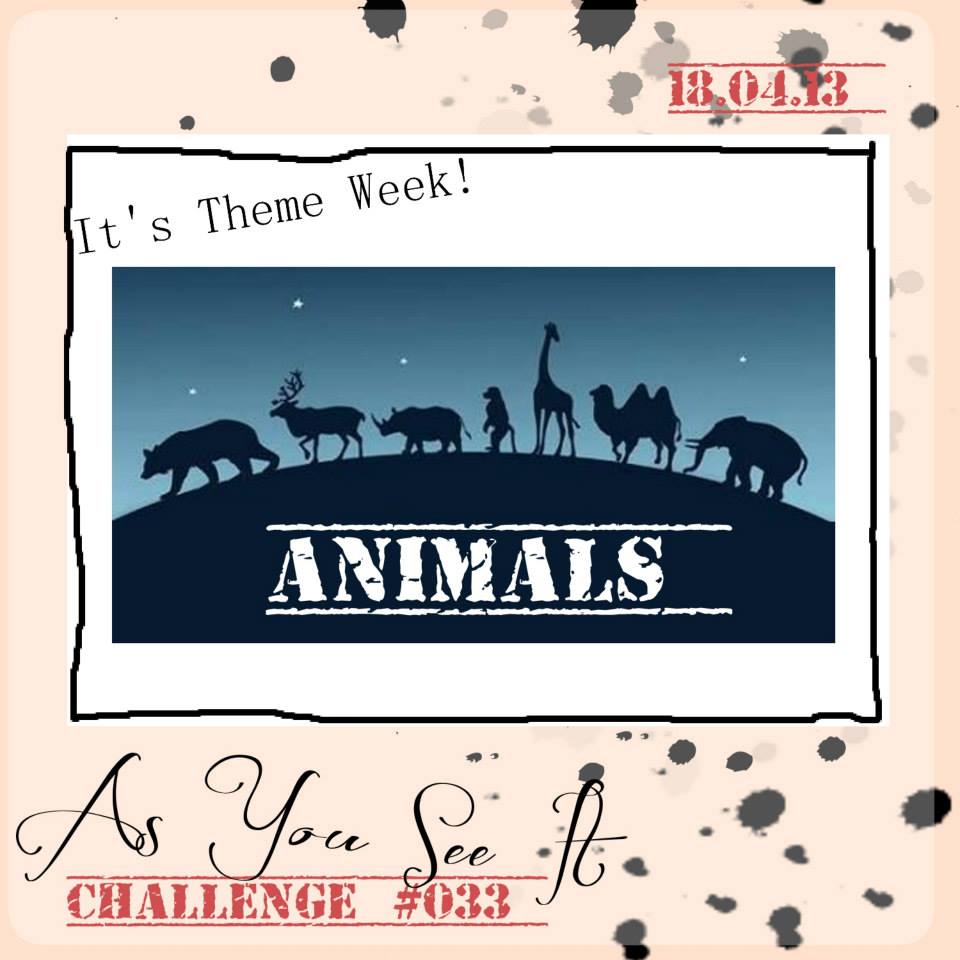
Come on over to the As You See It Challenge and play along with us this week! We’re switching it up with theme week this week…anything ANIMALS! 🙂 I chose to use this super cute bunny from the adorable Baby, We’ve Grown stamp set from the Occasions Catalog! Love this little guy!
I got a little excited about this sketch and made a whole bunch of these cards in different color combos. I also filmed a video for you on how to watercolor. The sentiments on all 4 cards are different, showing how versatile this little image can be. The main card above says “Happy Easter,” whereas the other 3 cards are baby themed with “for your shower,” “hello, baby,” and “thank you.” Think of what a great gift a set of the “thank you” ones would be for a new mom!
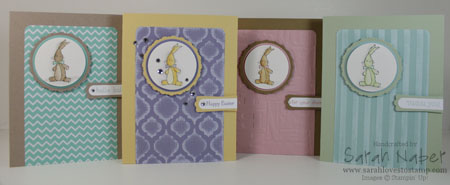
I also showed some variety in the backgrounds. One is Designer Series Paper, one is dry embossed cardstock and the other two are (surprise, surprise) my favorite, Core’dinations cardstock!!! (Seriously, can I even make a project without it?)
I’ll be back with the video as well as the How To and Supply List soon!

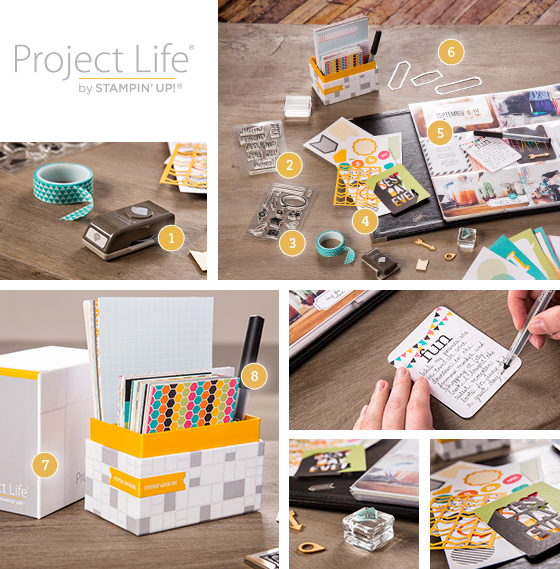
We are so so so excited to let you know we’ve partnered with the amazing Becky Higgins to bring you the real deal—authentic Project Life products, now in exclusive Stampin’ Up! colors and designs. If you’ve somehow missed the Project Life craze and are wondering what it’s all about, we’ll fill you in: it’s a super simple, totally affordable way to get your photos into albums: you just slip your photos into Photo Pocket Pages and add designed cards. It’s a back-to-basics approach to documenting your life. In a nutshell, it’s all about spending more time making memories and less time scrapbooking them.

You’ll be able to order a selection of Project Life products starting May 1! And with the launch of our new annual catalog on June 2, you’ll be able to buy from our complete line of Project Life products.
Can’t wait that long? Stampin’ Up! demonstrators will be able to order the limited selection starting April 21. So if you’re a demonstrator make sure to check the demonstrator website that day; if you’re not a demonstrator, sign up and you can order the products early too!
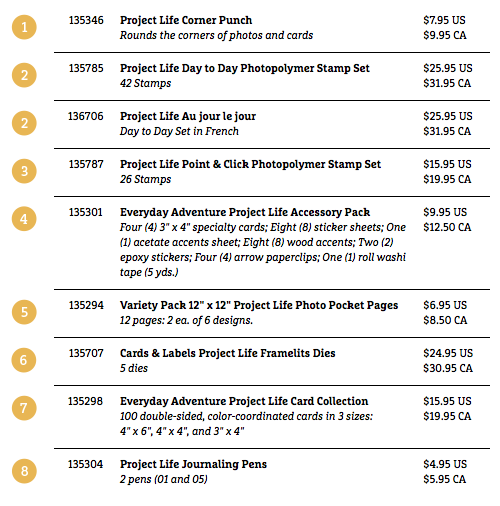
Here are the items you’ll be able to purchase on May 1:
 I started papercrafting when I was 10 when my mom and I started scrapbooking together. Many, many years later, I found Stampin’ Up! and fell in love with the simplicity of card making. Project Life is EXACTLY what I need to get back into scrapbooking again so I can’t wait to order these products and start documenting our memories again! I love looking at my old scrapbook pages and remembering the stories and people.
Now to print some of the thousands of pictures that I’ve taken…that’s definitely one drawback of digital photography. Anyone out there like me that hasn’t printed a picture in years? I think pictures are actually the #1 reason I quit scrapbooking. I’d print a picture but so often felt like I needed it in Black & White or a different size or whatever so I just went to card making where I didn’t have to worry about a picture at all.
I hope you’ll stay tuned! I’ll do some videos on the products when they come but I won’t be able to post those until it’s available for customers to order on May 1st. I hope you’re as excited as I am! And just in time for National Scrapbooking Month!!! Perfect timing!
I almost forgot…here’s the video announcement!
Hi there! If you aren’t on my mailing list yet, you’ll want to be before Tuesday! I’ll be sending out my newsletter on Tuesday full of great projects and other info. Here are some of the perks of being on my mailing list:
- Monthly newsletter full of project ideas (I try to include a card, technique, scrapbook and 3D item each month as well as a Tool Tip and Q&A) EXCLUSIVE to my newsletter! You won’t find these projects elsewhere!
- Other emails throughout the month with upcoming SU! specials, promotions, announcements, etc.
- Notification of specials, promotions and announcements directly from me! (Some offers will be for my newsletter subscribers ONLY!)
- First notification of upcoming classes and other events
- Free video upon signup (New updated video coming soon! Don’t worry – if you sign up now, it’ll get sent out to ALL of my current subscribers when I upload it, as well as new ones too!)
How to sign up? Visit SarahLovesToStamp.com if you are viewing this in a blog reader and sign up via the pop up or to the left where you can put in your name and email. Don’t forget to check your email after that first step – you HAVE to click the link in your email to actually be added and start receiving messages from me.
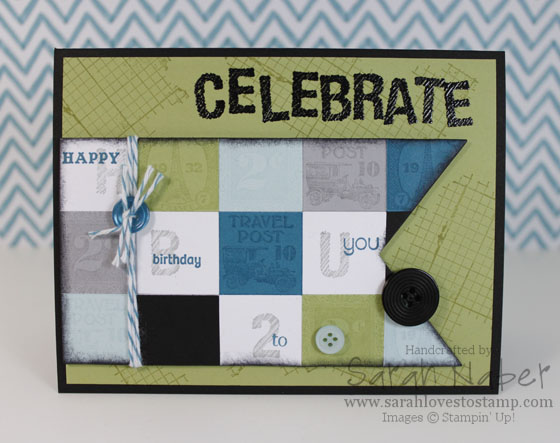
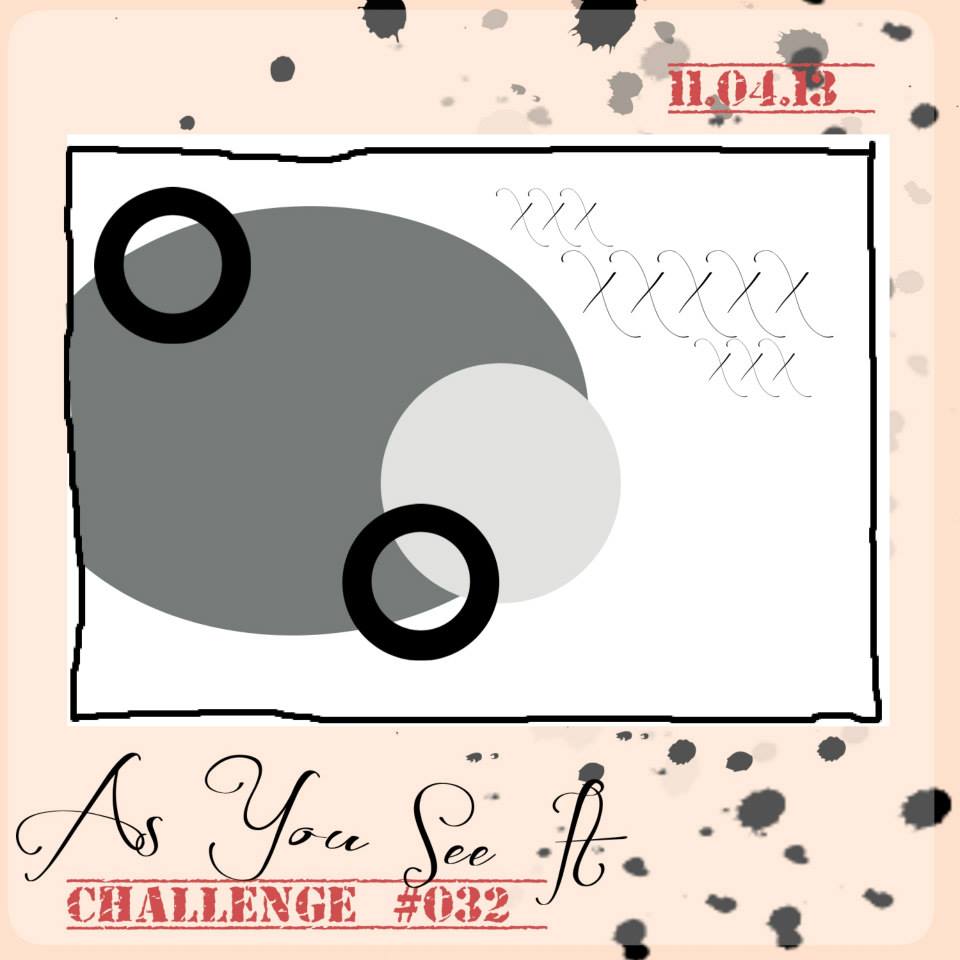
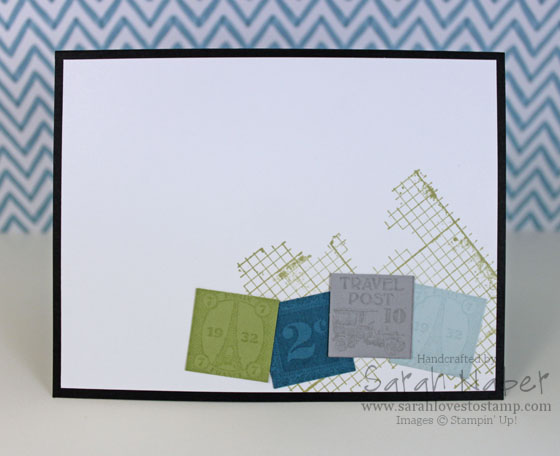
Back again today with a challenge card for the As You See It Design Team! This sketch was a bit tricky for me as I had the main image part done and had to figure out what to do with the circle elements. I ended up using buttons to mimic the circles on the sketch as well as to create a visual triangle around my main focal point piece.
The color combo and actually even the square inspiration came from an old Colour Q challenge that I’ll post below. The image doesn’t show that you should use black, but I thought the black really made the other colors pop! 🙂
Please head on over to the As You See It Challenge Blog and check out what the rest of the Design Team has to share with you! Then, before next Wednesday, play along and link your card on the blog so we can all check out your creation!!!
Because my card base was Basic Black, I also added a Whisper White layer to the inside to write on. I decorated it with a few of my extra squares from the front too. Check it out below.
*Full instructions to come!*
Hi there! Here’s my video I promised when I posted my As You See It speed stamping challenge card last Friday. A little late with this one but it’s a simple design that can be executed in a myriad of colors! Go with the ombre, or go with 3 different (non-monochromatic) colors instead, or do all 5 panels the same color! So many options but I LOVE stamping the background stamp over them to tie them all together. Hope you love it too!
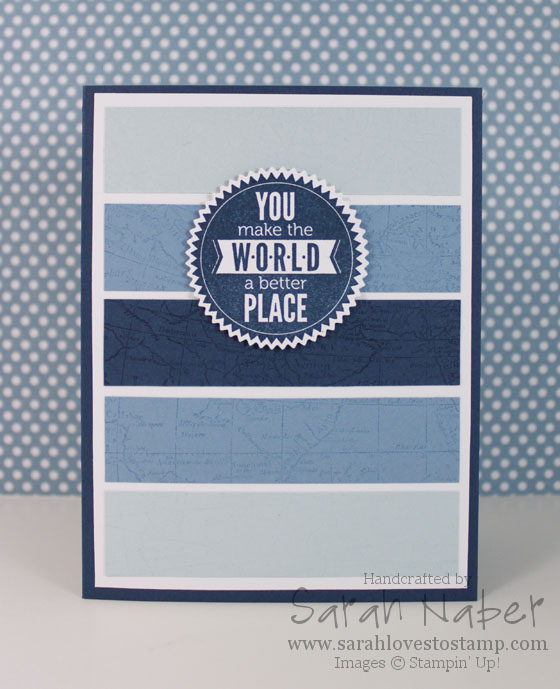
Our As You See It Challenge for the week is a double challenge. You must use shades of blue and try to finish your project in under 10 minutes!!! It’s a fun one and I really encourage you to give it a try! As inspiration, here’s a video of my process from start to finish (I did fast forward while I was at my Big Shot).
How To
1. Cut Midnight Muse cardstock to 5-1/2″ x 8-1/2″ and score at 4-1/4″. Cut Whisper White cardstock to 4″ x 5-1/4″. Cut 2 pieces of each of Soft Sky and Marina Mist cardstock and 1 piece of Midnight Muse all to 3-3/4″ x 15/16″.
2. Use Multipurpose Liquid Glue to adhere the cardstock strips in an ombre pattern. *TIP: Multipurpose Liquid Glue is essential when you want to have a minute or two to slide paper pieces exactly where you want them.
3. Stamp this piece with the World Map background stamp in VersaMark ink. Glue it onto the Midnight Muse cardstock.
4. Stamp the sentiment from Starburst Sayings onto Whisper White cardstock with Midnight Muse ink.
5. Cut the sentiment out with the matching Starburst Framelits Dies, using the Magnetic Platform to hold your framelit in place on your stamped sentiment. Attach it with Stampin’ Dimensionals.
Hi there! I wanted to show you my new system for storing my Framelits dies! I’m loving the magnetic sheets and how this streamlines the amount of items inside the folder so it is easier to take them out and put them away. You can also do this and then leave the magnetic sheets outside of the folders and put them into some sort of container that makes it easy to flip through. If I didn’t put all of mine in their folders, I bet I could fit all of them into one Littles Carry-All Caddy from thirty-one. This has helped me tremendously with storage and organization but also with my creative process as I can easily see and access all of my Framelits dies. Maybe this tip will help someone else too!
