From the daily archives: Friday, January 24, 2014
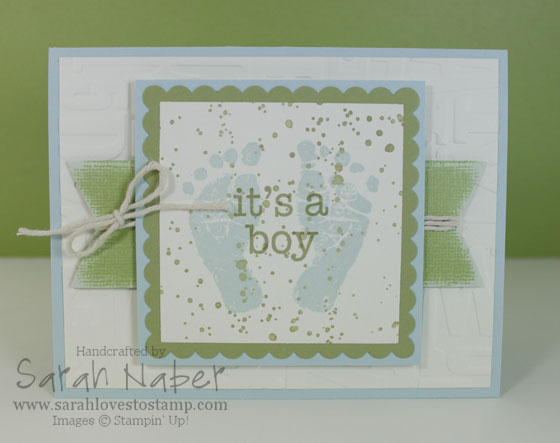
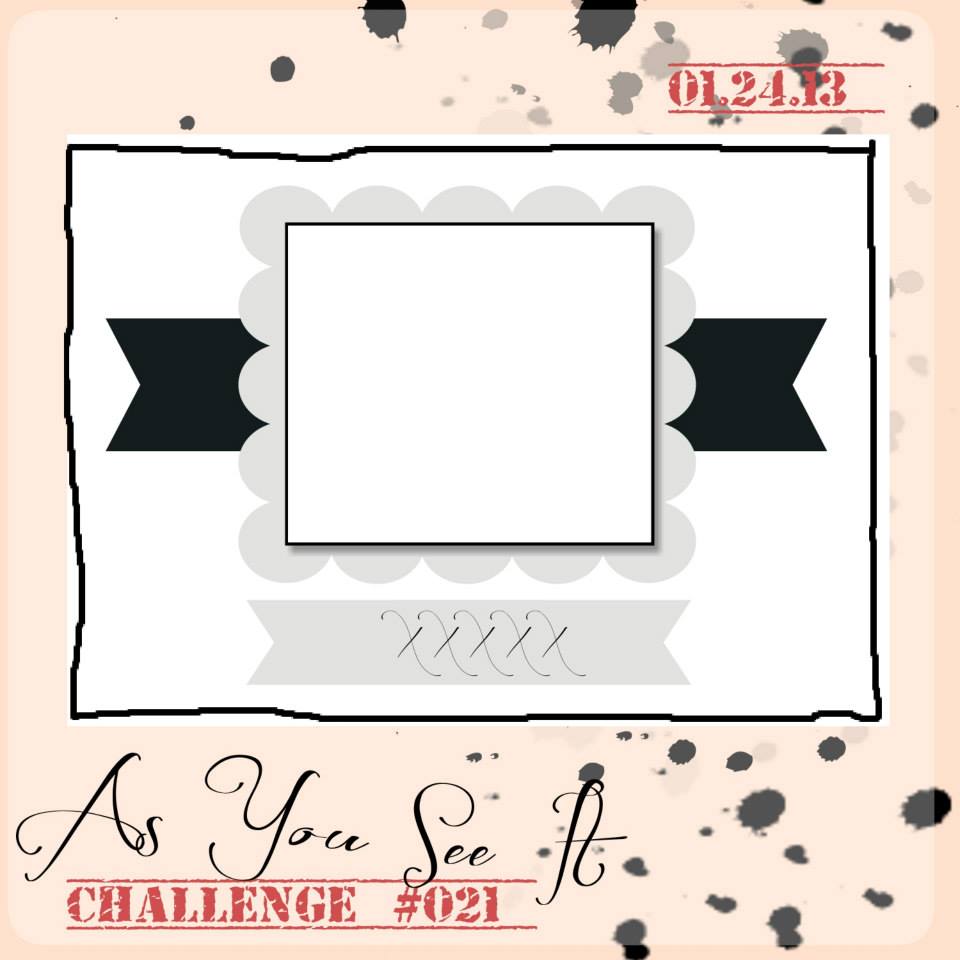
Hi there! I’m sorry for my extended absence! I have been sick sick sick over here at the casa de Naber! Yuck!!! Thankfully, I’m finally feeling on the mend and was very excited to get back into my stamp room and create for you! Check out my card using the super cute, Baby Prints Stamp Set! This one is an oldie but a goodie, debuting about a year ago and ending up in our fantastic 2013-2014 Annual Catalog! I used the sketch from the As You See It Challenge Blog and a color combo perfect for a baby boy from over at Cupcake Inspirations!
This card came together pretty quickly! I stamped the feet in Soft Sky ink, then stamped the splatters from Gorgeous Grunge over the top in Pear Pizzazz. I used my Stamp-a-ma-jig to insure perfect placement of my sentiment which I stamped in Pear Pizzazz. You’ll notice the sketch has a banner below it – I totally planned to do that until I was assembling my final card which is when I realized my focal point was so large there wasn’t room for the sentiment below it! So technically, I stamped the sentiment last! 🙂 Had I known this would be an issue, I would’ve “stamped off” the Pear Pizzazz splatters before stamping them onto my project so the sentiment would stand out even more. As it was, the splatters were done full strength so I actually left my handy Stamp-a-ma-jig handle where it was after stamping the sentiment the first time and stamped it again, in exactly the same spot, to make it just a tad darker! Maybe that’s a new trick for you! It’s like the opposite of stamping off! Double inking let’s call it!
Anyway, I cut it out with the 4th largest Square framelit and then used the largest Square framelit that is scalloped to make a smaller scalloped square. I’ll have to make a video for that soon! I’ll insert it into this post when I do! I just cut the square that mats that one to be a tiny bit larger. Then I took a piece of Pear Pizzazz Core’dinations Cardstock (from the Subtles Collection Pack) measuring 1-1/2″ x 5″ and flagged the ends (I wanted a super shallow “V” or I would’ve just used the Banner Framelits Dies from the Occasions catalog.) Then I sanded it down to reveal some of that lighter inner core. I took the Gold Baker’s Twine and peeled the gold striping off of it (super easy to do) to reveal the Vanilla twine underneath! Wrapped this around the banner piece, tied a bow and attached it to the rest of the card! The layer I attached it to is a piece of Very Vanilla Cardstock cut to 4″ x 5-1/4″ and embossed in the Big Shot Die Cutting Machine with the Alphabet Embossing Folder (one of my favorites)! I attached that to a Soft Sky base measuring 5-1/2″ x 8-1/2″ that I scored at 4-1/4″. The sanded banner piece was popped up on Stampin’ Dimensionals and the main focal point was popped up with double Stampin’ Dimensionals to reach the embossed piece and just one layer of Stampin’ Dimensionals where it was adhered to the sanded banner piece.
I hope you like it! It would be SUPER simple to make this card into a great girl or gender neutral card too!!! It’s a great sketch, so please play along with us over at the As You See It Challenge Blog! You have until Wednesday evening to get your entry in! Come check out what the other Design Team members have made too!!!