
From the daily archives: Friday, April 25, 2014
This post is probably the most picture-heavy post you’ve ever seen on my blog! 🙂 I’ve gone to Convention for the past six years and admired the display boards stamped by talented stampers from all over North America. This year, I’m throwing my hat in the ring to be a display stamper. We were asked to gather up three cards, two 3D items, and one scrapbook page to show examples of our work. First my cards:
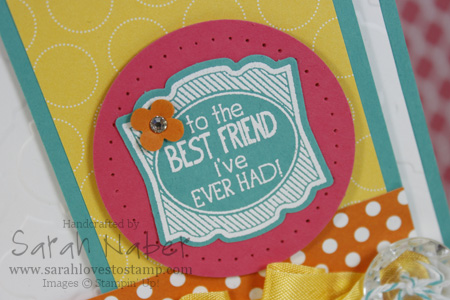
Label Love – I’ve included extra pictures to show some of the details on this card.
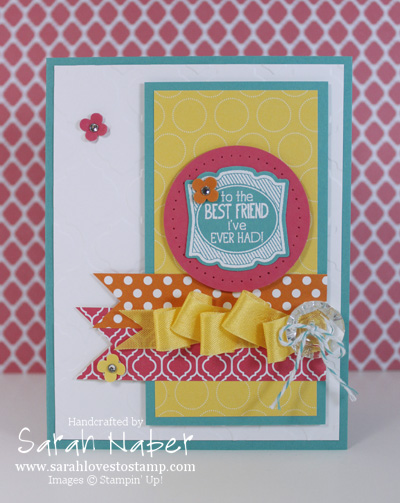
The first closeup shows a bit of the ruffled ribbon detail, as well as the dry embossing done with the Big Shot and Modern Mosaic Textured Impressions Embossing Folder.

The second closeup shows the main image embossed with White Stampin’ Emboss Powder onto Bermuda Bay Cardstock, as well as the paper piercing on the circle, done with the Essentials Paper Piercing Pack.
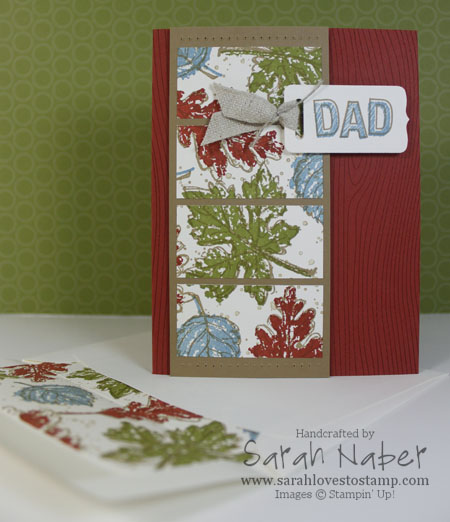
Gently Falling, Sketch & Outline Alphabets – This card uses some of my favorite things! A great two-step stamping set, the Chalk Talk Framelits, paper piercing, and a background stamp! Check out my original post about this card to see the video I filmed on making your own custom die cuts (in this case I wanted to shorten) as well as how to use the Envelope Liner Framelits Dies (how I made the matching envelope liner in the first picture).
The second picture is the decorated inside of the card. I kept the design of the inside super simple since I like to write a lot! 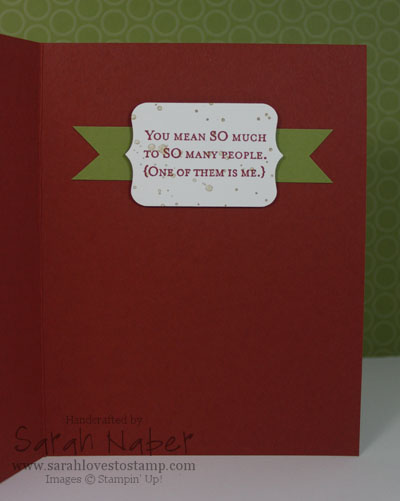
So Very Grateful – I used Gold Stampin’ Emboss Powder to make the stamped images really pop! I also used it to turn one of our 1/8″ Silver Mini Brads into gold! The main image is stamped onto watercolor paper and was colored using the Aqua Painter and our Classic Stampin’ Pads.
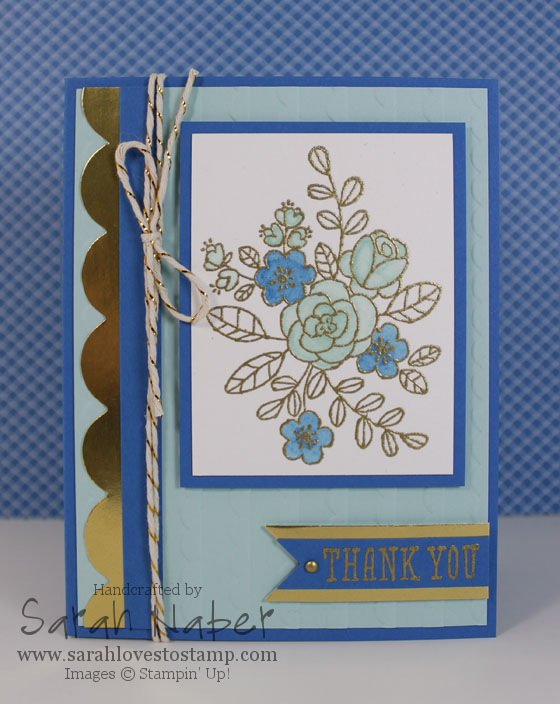
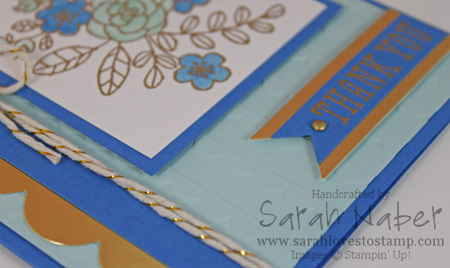
This picture shows a closeup of the dry embossing, again with the Big Shot, but this time using the Scalloped Textured Impressions Embossing Folder. You can also see the Gold Foil Paper under the sentiment and as the scalloped accent. I love that stuff but boy is it hard to photograph! 🙂 You can also see the silver brad turned gold here too!
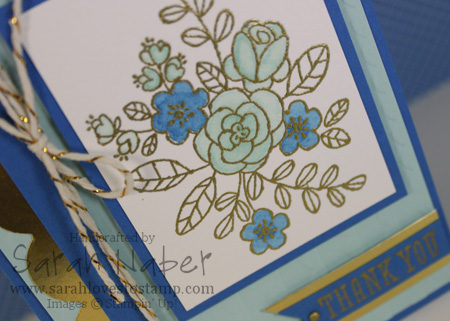
Just a closeup of the gold embossed and watercolored image! I love this stamp set!!!
Ok…on to my 3D items!
Candy Dispenser Box – I was able to make this by adapting a basic template I found online (no measurements so it was a tad tricky) to fit this entire box on a sheet of 8-1/2″ x 11″ cardstock! I love this combination of colors, taken from the Fresh Prints Designer Series Paper Stack!

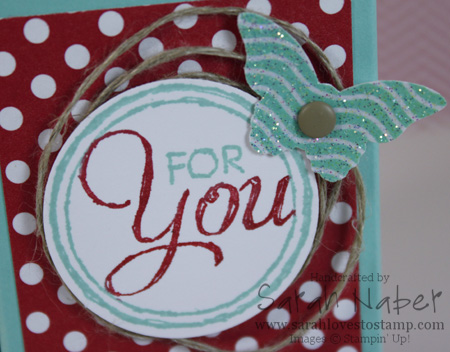
The front of the box is decorated with a sentiment from the Chalk Talk stamp set. I also added a Bitty Butterfly punched out of designer series paper I first heat embossed with Iridescent Ice Embossing Powder to give it a great, glittery shine! The butterfly is topped off with a Crumb Cake Candy Dot…LOVE those! Loops of Linen Thread add to the whimsy!
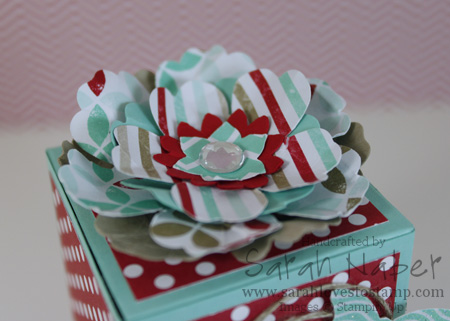
The flower atop the candy dispenser is made with oodles of punches. I punched two from each punch, the bottom layer from cardstock and the top from the Fresh Prints Designer Series Paper Stack. The punches I used, from largest to smallest are: Blossom Punch, Pansy Punch, and Boho Blossoms Punch. A Large Rhinestone Jewel added a bit of flair to the center after I crumpled the papers up to give them a bit more life.
Dream Banner – The second of my 3Ds is one of my favorite projects I’ve ever made! It is 10 times more beautiful in real life!!! I used the Pennants Framelits Dies to cut out both the black and vanilla Modern Medley Designer Series Paper (largest pennant die), and the Gold Foil Designer Vellum (2nd largest). The pennant toppers were cut from the largest Deco Labels Collection Framelits Dies.
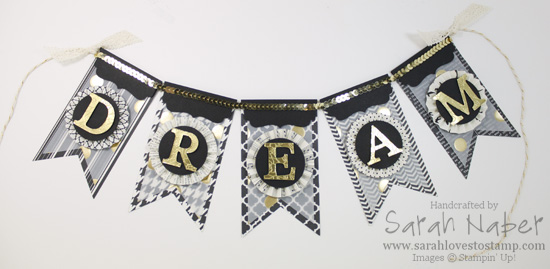
You can get a bit more detail in this picture. The letters are Gold Foil Paper with the So Very Grateful largest floral image (the one I used on the blue/gold card above) heat embossed on it with Gold Stampin’ Emboss Powder. It is so striking in real life! The rosettes were made by scoring every 1/4″ on the Simply Scored Scoring Tool. I strung them together with the Gold Baker’s Twine, used Sticky Strip to attach the Gold Sequin Trim and tied a knot of Victoria Crochet Trim at either end. Voila! 
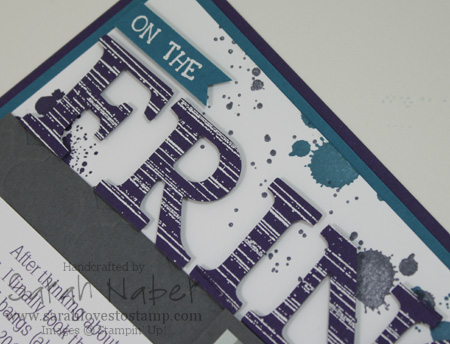
Gorgeous Grunge Scrapbook Page – On to the final entry! The splatters are all from my favorite stamp set of all time, Gorgeous Grunge. The letters are also heat embossed with White Stampin’ Emboss Powder – the large ones again using a stamp from Gorgeous Grunge. The large gray portion in the background is embossed with the Modern Mosaic folder, but it is super hard to tell in my photos!
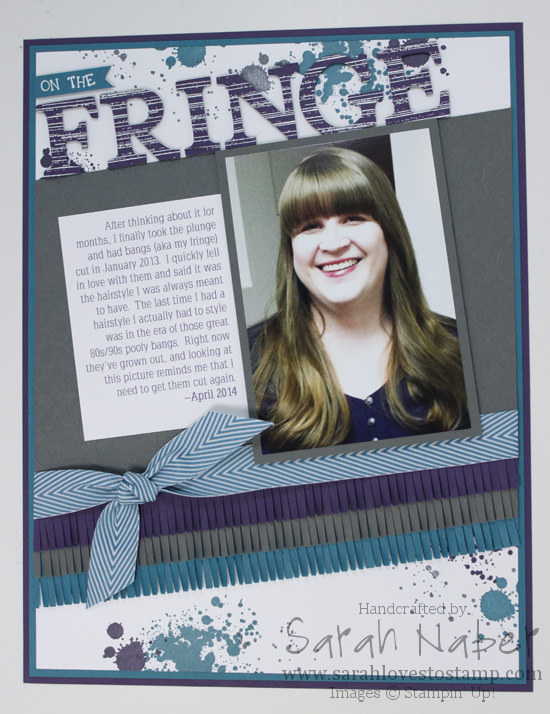
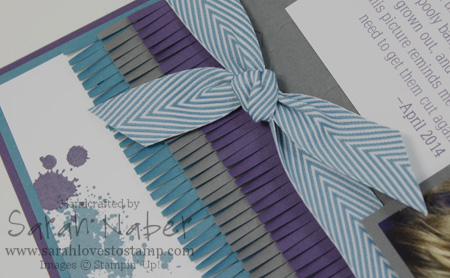
This picture shows the fun fringe I created with the Fringe Scissors. I thought it was the perfect touch on a page all about my much loved bangs! 🙂
Here’s a closeup of the letters embossed with White Stampin’ Emboss Powder.
I hope you enjoyed looking at my projects! I sure had a great time pulling together some favorites and making some new projects to enter into the selection for Convention 2014 Display Stampers. Thanks for sticking with me through this long post!
