Bright Birthday Card

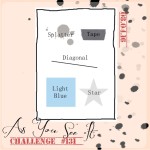
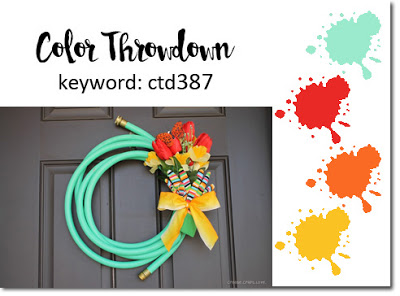
It’s another challenge from the As You See It Challenges! If you’ve been around very long, you know that this is my favorite type of challenge. I just love it and the great variety of creations people come up with to meet the challenge. I LOVE this color combo for this bright birthday card! It’s from the Color Throwdown for last week but baby’s nap on Friday wasn’t long enough for me to get the card finished, let alone photographed, edited and blogged. Oh, well. I ended up loving this combo of Real Red, Crushed Curry, Tangelo Twist, Pool Party and Whisper White. I have so rarely used Tangelo Twist and it is so, so bright in person!

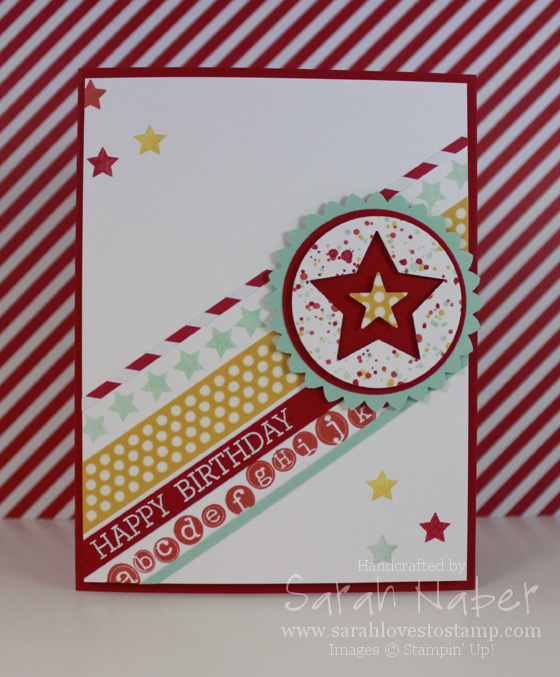
 So today’s card is a mix of a bunch of different stamp sets, all melded together to create a super fun, bright birthday card perfect for any kid. (I find boys cards more challenging than girls, so I kept the elements pretty gender neutral. *Side note: Do you know how hard it is for me NOT to add ribbon to a card? Wow!) The star is from the Peaceful Pines stamp set, the alphabet strip from Tap Tap Tap, the splatters from Gorgeous Grunge, chevron from Stamp A Bag, and sentiment from Crazy for You.
One of my fav elements? That polka dot washi tape! I used it for the main diagonal stripe on my card and then used my grid paper to align every other stripe according to that one. I stuck a piece of washi onto Whisper White cardstock and simply punched to get the small star in the center.
This card is actually pretty simple! The only tricky (read: time consuming) part was the alphabet strip. That stamp is actually two lines so I stamped it onto my Stamp-a-ma-jig for perfect placement on the card, inked it up, removed the second line with a baby wipe, then stamped it using the Stamp-a-ma-jig. To finish the strip, I inked up the second line, removed the first line with a baby wipe and used the Stamp-a-ma-jig to align the second part of the alphabet with the first.
Here’s a link to a project from my stint as a Display Stamper for Convention 2014! I used the Stamp-a-ma-jig on it, as well!
You can’t see it in the picture but the Real Red strip has a chevron background stamped onto it, before I heat embossed the sentiment in white. Man, that was a labor of love; my VersaMark that I stamped the chevron with just wouldn’t dry down so powder kept sticking to it, as well as the sentiment!
I’ll have a video tutorial coming up about how I created the starburst punched piece. It’s a scallop circle punched and then put back in and rotated just a bit so you’re punching again, basically in the center of each scallop. The brilliance of this technique? Do it with any and ALL scallop circles – the size doesn’t matter!
This project is all about the tools that make every card faster and more professional looking! My go-to tools on this project are the punches, as well as the all time favorite Stamp-a-ma-jig! CLICK HERE to shop these awesome tools (and more) in my online store!
Connect with Me!
Categories
Archives
Copyright Info
Copyright Info All Images © Stampin' Up! 2011 Sarah Naber, Independent Stampin' Up! Demonstrator The content of this blog is my sole responsibility as an independent Stampin' Up! demonstrator and the use of, and content of, the classes, services, or products offered on this blog is not endorsed by Stampin' Up!


